File menu
In the following each of the functions and possibilities of the program PAM are explained. Step by step the functions and applications are demonstrated.
The first tab of the main menu of PAM is the menu File, including five different functions. Each of the different functions will be explained one by one in the following chapters.
Import of Material Data and Series of Measurements
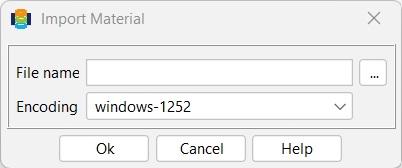
The Import function allows the import of finished records Material and the measured material parameters Series of Measurements. If the user wants to make the import of material data, it must sequentially with the mouse tab File > Import > Material button. The Import material data opens.

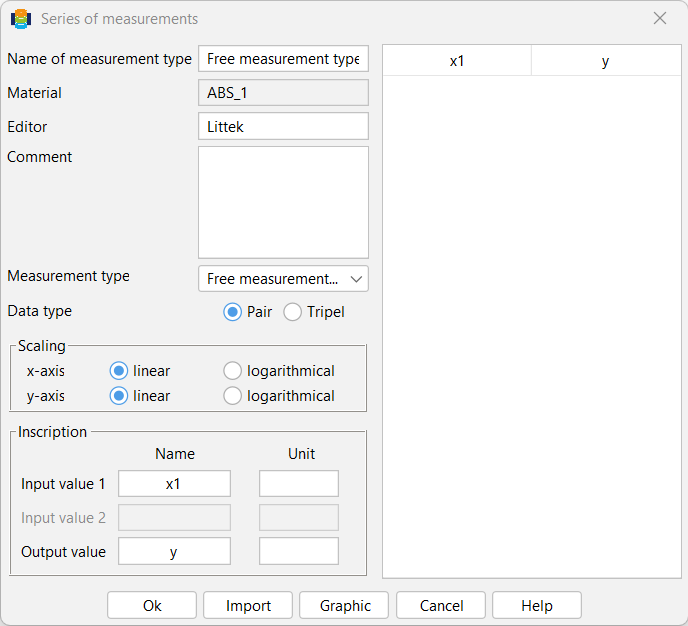
When importing data series is intended, the procedure is analogous to the material data, File > Import > Series of Measurements. As shown in the following figure, files can be imported in csv (*.csv) format (for example data, which are save as in Excel with previously stored name.csv).

Export of Material Data
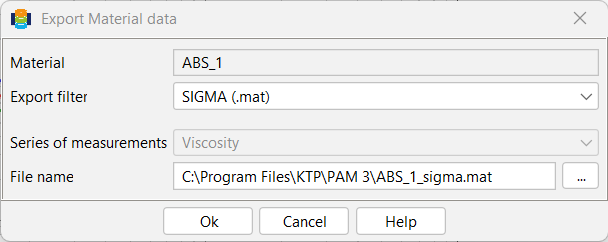
The user is not only able to import material data with PAM, but to export as well. To export material data to use in other programs, select the Export option in the File menu or use the button for Export (marked in red). Current exports to REX, PSI, SIGMA and PAM are available. In order to export, select the desired file format and enter the name of the Material data file. PAM also provides the ability to export only the graphics as PNG file or JPG file. This can be done by using the button Graphic Export (marked in black).

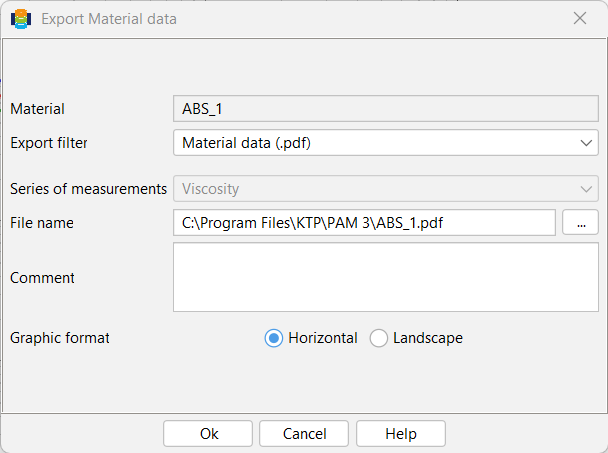
By using the export option, there is also the opportunity to generate material documents in the PDF-format. If you choose this option, the dialogue will be adjusted and expanded to several fields. For example, it is now possible to choose a graphic file which will be included into the title picture. This title picture is shown in the preview. There is also the possibility to adopt the comment which belongs to the material.
Database-Management
In the menu Database-Management databases can be connected, configured, added, created, copied and deleted.
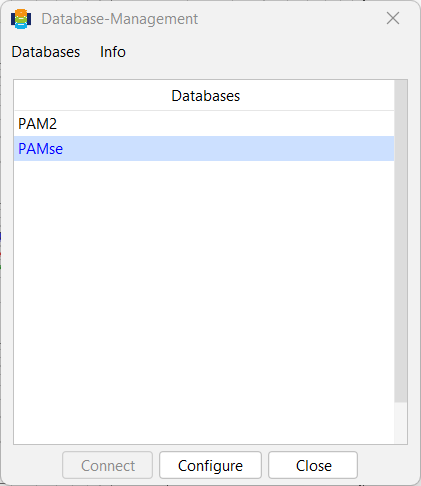
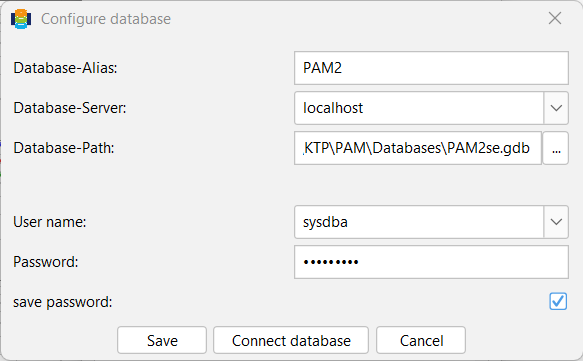
With Connect database you connect a database from the table. Therefore, select the database to connect with by clicking on it. Instead of using the button, it is also possible to establish a connection by double-click. The database illustrated in blue is the one temporarily connected. Furthermore, the function Configure offers the possibility to save the password used for reusing it in the next dial-up as a standard password. The storage occurs encrypted in the file pam.ini. For this reason, an access by a third person is hardly possible.
There is also the possibility to build up a database connection directly by the checkbox which is shown in the program border on the top and the right.
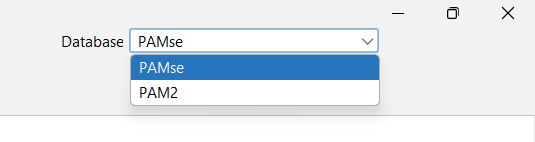
Here you can choose one of the databases in the list. In this case the program tries to establish a connection with the username and the password which have been used recently. If the connection effort fails, the common connection dialogue will appear. There you can subsequently change the username and password.
Configure database configures the database and allows to change the description of the database and its postion (Server and Path).
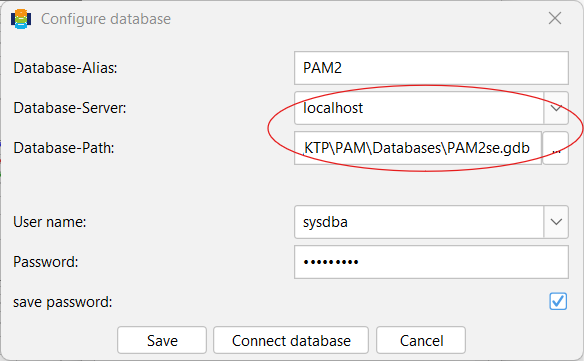
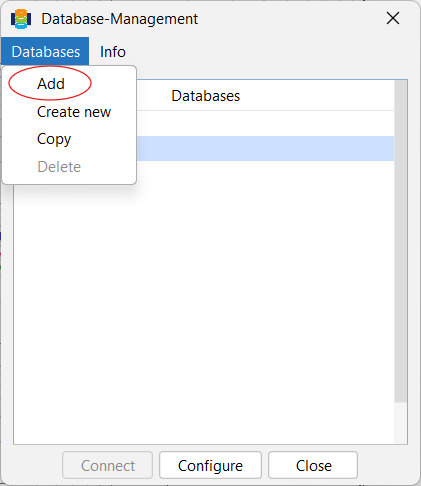
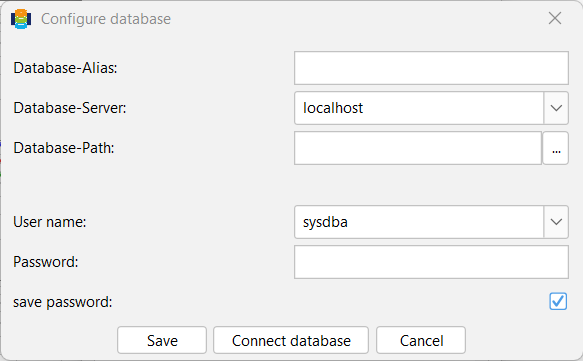
Add Database adds a database to the list. Which has been defined, but is not on the list yet. When you click on Add you have to search for a database first. In case the file already exists on the local server (localhost), it is possible to select the URL directly out of the file-tree.
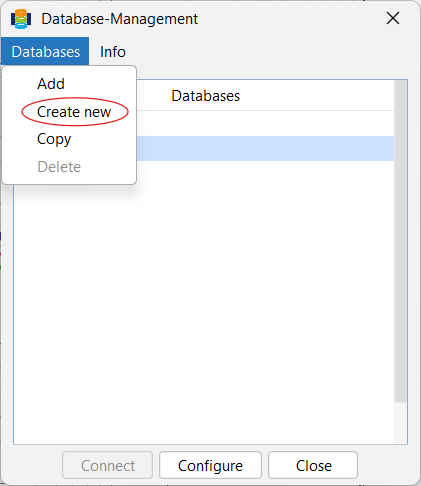
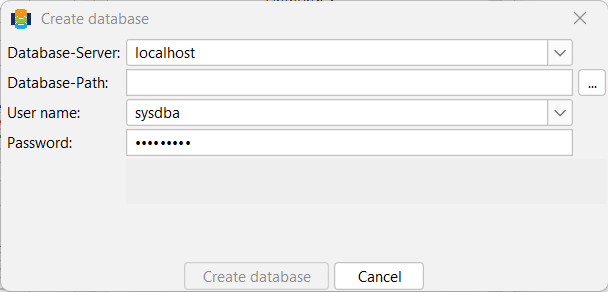
Create Database creates a completely new database. The new database will immediately be added to the list of already known databases. The name for this recently created database will be generated at once from the given database path.
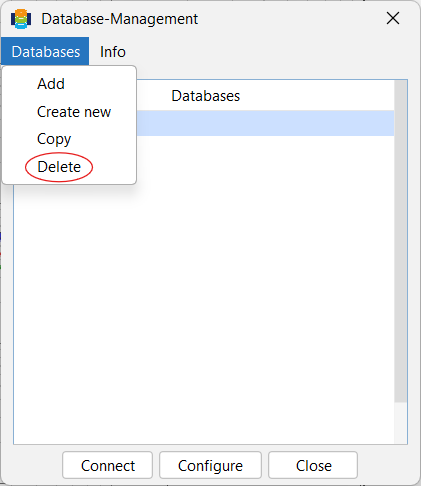
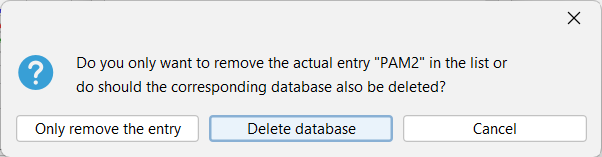
Delete Database deletes a database from the list. There are two possibilities to delete the databases: to delete it completely or to just remove the entry.
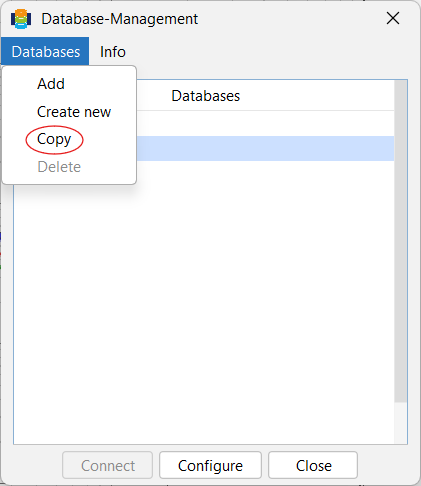
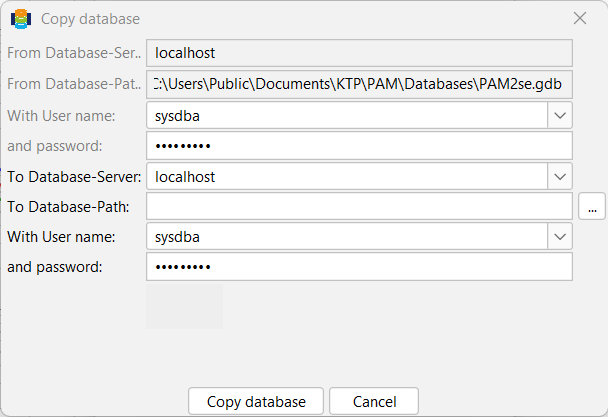
Copy Database makes a copy of the chosen database. Thereby a target must be determined, in which the database should be transferred. Furthermore, the determination of the username and the password are necessary.
The button Rights can allow a certain user to have certain new rights or to disallow older ones concerning the material database. It is important that this option is only available for the database, with which a current connection is possible.
In the table above, all known users with their rights are mentioned. Thereby the program divides between read and write permission. You may own the authority to change them (this is generally the case if you have established a connection as SYSDBA or if you are the owner of the database). In this case you have to know that a given write-permission includes the read-permission. This means, if you deselect the checkmark of the read-permission, the write-permission is also deselected.
In addition to this, there are also the options to add new users and to delete old users. If you delete a user, all of his/her rights referring to this database are removed. But there is still the possibility that this user is known by another data-base. If you add a user instead, it is mentioned in the permission lists of all known databases.
For a better understanding of this it is necessary to know that the program loads the list of all known users by connecting the entries of the file user.ini with the users which are mentioned in the authority list of the chosen data-base.
Printing
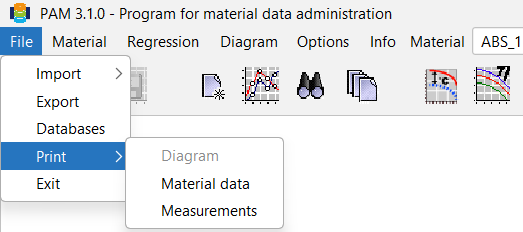
To print diagrams or material data select the item Print in the File Menu. In general, it is possible to print either diagrams or material data or measurements or to print everything at once. The data is generated in an HTML-data file and they can be printed directly via Netscape. The newly created HTML page will be saved under %TEMP (Windows default-directory, e.g. c:\temp) with the name pamMaterial<no.>.html. The browser window should open automatically.
This requires a shortcut to data files (File Types) for HTML files, that is with a doubleclicking or with a “start” order on the cmd/command level, the HTML is opened with a browser. Everything can be configured either per file explorer or web-browser.
If this does not work, the computer settings need to be changed or the printing needs to be done manually.
Exit of the Programm
In order to exit PAM chose Exit from the File menu.
